
 PLAY NOW

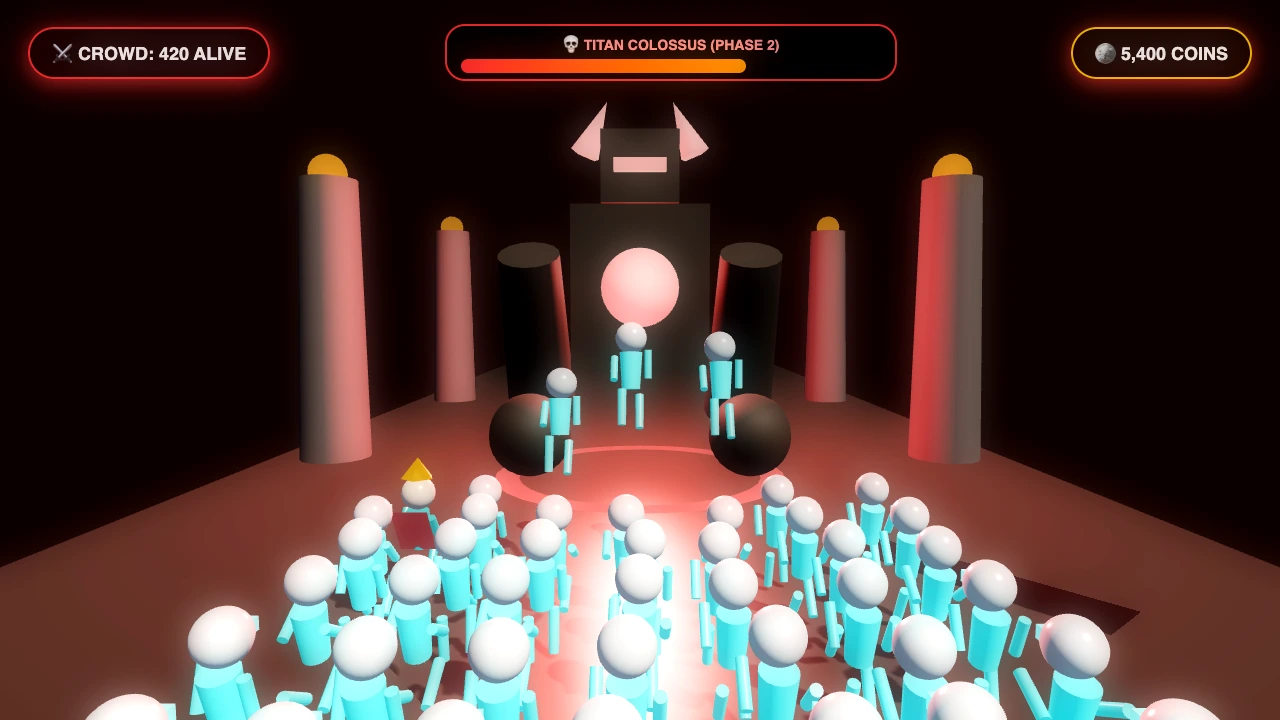
1. The Fundamental Swarm DPS Equation
- $N(t)$: Active runner headcount at time $t$.
- $d_{bolt} = 1.0$: Base damage value of an individual energy projectile.
- $f_{fire} = 5.0\text{ Hz}$: Firing frequency (each runner fires 1 bolt every 200ms).
- $\eta_{los}(i) \in [0, 1]$: Line-of-sight coefficient. If a runner's firing vector is obstructed by a front-rank comrade or hazard pillar, the shot is blocked.
- $\kappa_{range}(r_i)$: Distance falloff scalar. Projectiles inflict 100% damage within $12.0\text{ units}$, attenuating linearly to 0% at $20.0\text{ units}$.
The Linear Scaling Multiplier
Under optimal line-of-sight conditions ($\eta_{los} = 1.0$), damage scales directly with crowd headcount:
- A modest swarm of 50 runners dishes out $50 imes 1.0 imes 5.0 = \mathbf{250\text{ DPS}}$. Against a 1,000 HP boss, defeat requires 4.0 seconds of sustained fire.
- An elite swarm of 300 runners generates a blistering $\mathbf{1,500\text{ DPS}}$, vaporizing the exact same boss in just 667 milliseconds!
2. Projectile Dispersion & Formation Morphology
When the angle of incidence exceeds $\theta > 35^{\circ}$, two severe efficiency penalties occur:
- Distance Attenuation ($\kappa_{range}$): The hypotenuse distance $r_i = \sqrt{\Delta x^2 + \Delta z^2}$ increases significantly, pushing outer projectiles past the optimal 12-unit threshold and triggering up to 40% damage falloff.
- Hitbox Deflection: Boss bounding boxes are shaped as rounded oriented cylinders. Projectiles striking at shallow oblique angles frequently glance off the curved periphery without registering penetration.
The Spearhead Compression Technique
Elite players counter this dispersion loss by executing an accordion flick right before the boss engagement line. Swiping rapidly left and returning to center compresses the crowd from an 8.5-unit wide fan into a tightly focused 1.5-unit spearhead column. In this compressed formation, 100% of runners fire along near-zero degree incident vectors ($ heta < 4^{\circ}$), ensuring maximum damage application and zero raycast deflection.
3. Melee Trade Calculus: The Trap of Physical Collision
The 1:1 Melee Attrition Law
In our physics engine, when a runner's bounding sphere intersects the boss's physical collider, the engine executes an instantaneous mutual trade:
Consider the math: If a boss has 500 HP remaining and your swarm physically rams into it, defeating the boss requires sacrificing exactly $500 / 5.0 = \mathbf{100\text{ living runners}}$.
The Opportunity Cost on the Rainbow Staircase
Those 100 sacrificed runners could have elevated your final Rainbow Staircase climb by two full tiers (e.g., from Step 5 to Step 7), boosting your final multiplier from $3.0\times$ to $5.0\times$. On a 500-coin stage, that represents an immediate loss of 1,000 gold coins!
Golden Tactical Rule: Melee contact should only ever be permitted as a desperate last resort if the boss is within 10 HP of defeat and an un-dodgeable enrage shockwave is about to wipe your entire army.
4. The Four Boss Archetypes: Health, Attacks & Evasion Geometry
1. Titan Golem (Biomes 1 & Concrete Stages)
- Health Pool: 600 – 1,200 HP.
- Signature Attack: Overhead Ground Slam. The Golem raises both stone fists for 1.20s before slamming the track centerline, creating a shockwave ring of radius $R = 4.2\text{ units}$.
- Counter-Tactic: Steer to the extreme outer track boundaries ($x = \pm 4.5$) when fists reach apex elevation. The shockwave attenuates completely before reaching the curbs.
2. Mecha Destroyer (Biome 2 & Neon Highway)
- Health Pool: 1,500 – 2,800 HP.
- Signature Attack: Horizontal Laser Sweep. Projects a red targeting beam across the track for 800ms before sweeping a high-intensity plasma beam from left to right.
- Counter-Tactic: The laser sweep takes 450ms to cross the track breadth. Dash toward the starting side of the sweep immediately after the beam activates to pass behind its focal plane.
3. Molten Colossus (Biome 3 & Magma Foundry)
- Health Pool: 3,000 – 4,500 HP.
- Signature Attack: Magma Mortar Barrage. Launches three explosive fireballs that lob high into the air, landing on telegraphed circular danger zones on the runway.
- Counter-Tactic: Observe the red circular decals on the track surface. Thread the narrow safe corridor between decal radiuses while maintaining continuous forward firing pressure.
4. Cosmic Overlord (Biome 6 & Void Levels)
- Health Pool: 5,000 – 8,000 HP. Equipped with a regenerating 1,000 HP plasma barrier.
- Signature Attack: Singularity Pulse. Draws runners inward toward a central vortex while firing twin orbital laser beams.
- Counter-Tactic: Execute maximum lateral thrust away from the vortex center. The spearhead formation is mandatory here to punch through the regenerating plasma barrier before the singularity collapses.
5. Master Boss Combat Specifications Table
6. The Zero-Loss Boss Conquest Protocol
- The Pre-Combat Spearhead Compression (20m out): Perform a quick lateral swipe to collapse your crowd into a tight 1.5-unit central column. This guarantees that 100% of runners establish immediate line-of-sight and fire within the zero-falloff zone.
- The Outer Perimeter Orbit: As soon as the boss health bar appears, steer gently toward $x = +3.5$ or $x = -3.5$. Holding this lane ensures that central ground slams and frontal laser beams discharge harmlessly into empty track.
- Reflex Evasion on Flash Decals: When red telegraph zones appear on the track pavement, immediately execute a hard lateral flick to the opposite curb. Never hesitate or attempt to run through the edges of a telegraph decal.
- Ceasefire & Staircase Transition: The moment the boss's HP bar drops to zero, release all steering inputs. The boss explodes in a shower of golden voxel particles, and your pristine, unharmed swarm charges forward into the victory teleporter with 100% headcount intact.
7. The Boss Enrage Timer: Exponential Escalation ($t > 15.0\text{s}$)
- Aura & Shader: The boss mesh flares crimson red with an animated pulsating Fresnel glow.
- Telegraph Windows Reduced: Attack telegraph windows shrink by 50% (e.g., Titan Golem fist slam drops from $1.20\text{s}$ to $0.60\text{s}$).
- Shockwave Expansion: Ground slam danger radiuses expand from $4.2\text{ units}$ to $7.5\text{ units}$, covering almost the entire track breadth and leaving zero curb refuge.
- Attack Frequency: Bosses attack every $1.4\text{ seconds}$ instead of every $3.0\text{ seconds}$, trapping uncoordinated swarms in an inescapable cycle of mass casualties.
The enrage timer serves as a hard mathematical DPS check: if you do not cultivate an army capable of generating at least 400 DPS, surviving the late stage becomes virtually impossible.
8. Detailed Simulation Case Study: 500-Swarm vs Cosmic Overlord
[0.20s] Firing begins. 500 bolts / tick × 5.0 Hz = 2,500 base DPS.
[0.40s] Plasma barrier (1,000 HP) absorbs 1,000 damage and SHATTERS with electric shockwave.
[0.80s] Boss HP: 7,500 / 7,500. Direct hull damage begins.
[1.60s] Boss HP: 5,500 / 7,500. Boss initiates Singularity Pulse telegraph (red eye glow).
[2.40s] Boss HP: 3,500 / 7,500. Player steers gently to x = +3.5 to dodge central pulse.
[3.20s] Boss HP: 1,500 / 7,500. Pulse discharges into empty track centerline (0 casualties).
[3.80s] Boss HP: 0 / 7,500. Boss detonates in golden voxel burst.
[3.85s] Total elapsed combat time: 3.80 seconds. Total runners surviving: 500 / 500 (100% efficiency).
Because the player compressed their swarm into the spearhead formation and orbited the perimeter, the encounter ended in under 4 seconds with zero casualties, allowing all 500 runners to storm the Rainbow Staircase.
9. Boss Combat & Attrition Avoidance FAQ
Q: Do energy projectiles pierce through the boss to hit objects behind it?
A: No. Energy bolts terminate on the first physical collider they intersect. Once they strike the boss's bounding box, they trigger an impact particle burst and transfer their 1.0 damage point immediately.
Q: Why does my firing sound become a single continuous buzz during large boss fights?
A: When 400+ runners fire 5 bolts per second, your browser processes 2,000 individual audio events every second. To prevent audio buffer congestion and clipping distortion, our Web Audio synthesizer dynamically merges concurrent bolts into a resonant harmonic chord using our polyphonic oscillator pool.
Q: If I have 1,000 runners, can I instantly 1-shot any boss by ramming it?
A: Yes, but it is the worst possible tactical decision! Ramming a 1,000 HP boss will indeed kill it instantly, but you will sacrifice 200 living runners ($1,000 / 5.0 = 200$), needlessly destroying your final staircase multiplier. Ranged fire accomplishes the exact same victory in 2 seconds with zero casualties.